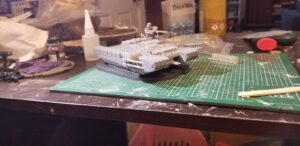
Imperial Heavy Vehicle Assembly
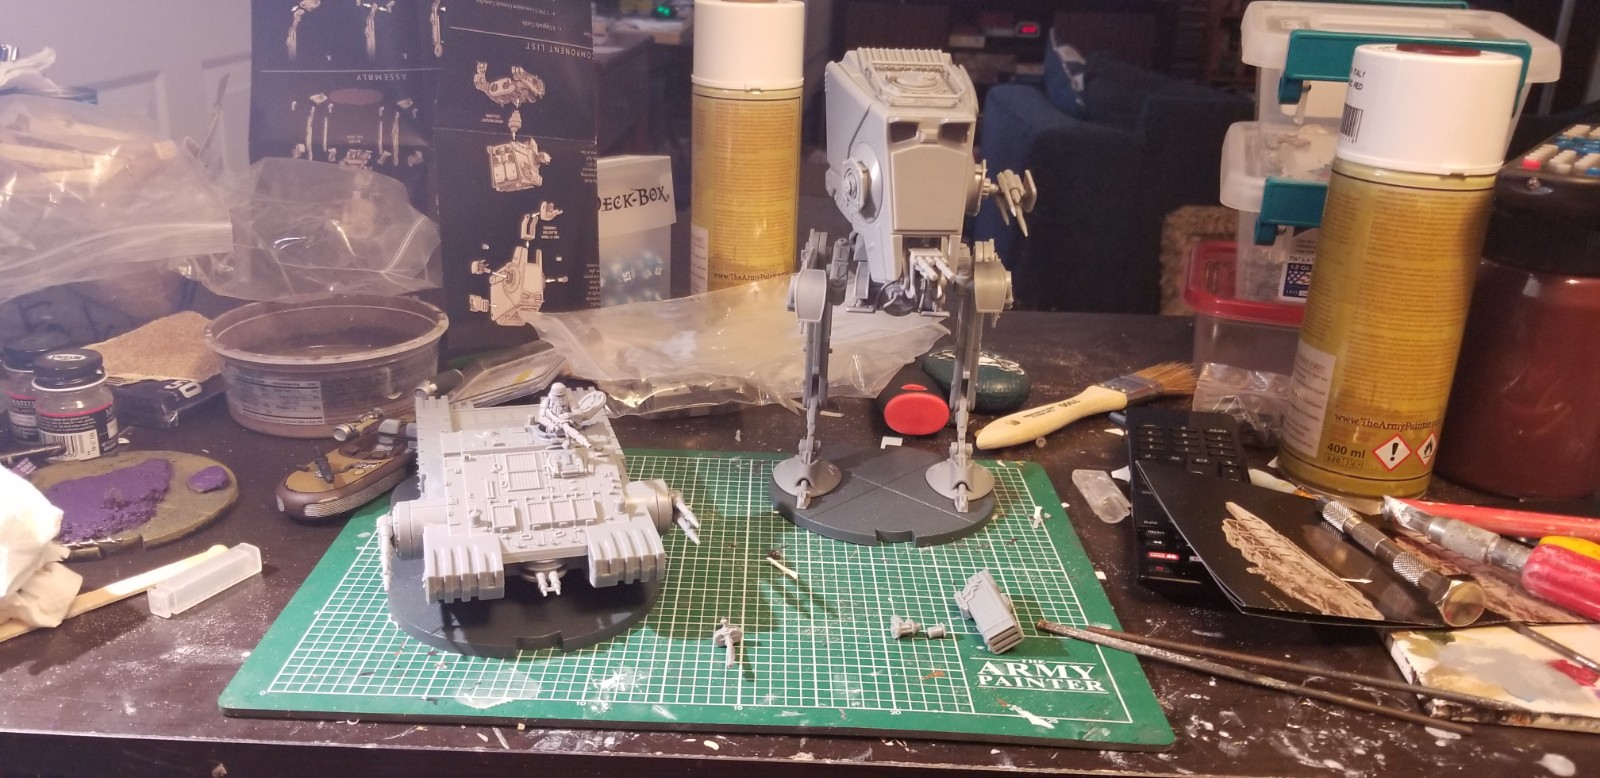
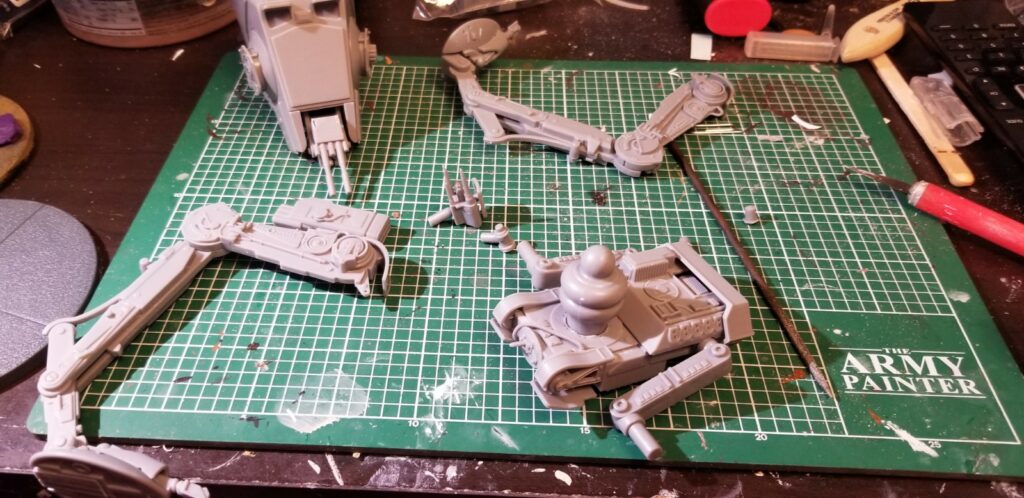
So aspirations of a Tuesday update were dashed, due to preparations for the Houston area RPQ. I did get both the Imperial heavy vehicles assembled and primed. I included the basic magnetization I thought necessary to get the most out of both kits, but otherwise kept it simple. On top of a late update it will also be a lean one. And probably the last regular update. The school year starts soon and while I still eagerly await my thunder lizards, I will have other priorities. Not the least of which is running he Golden Porg events. So while Painting Blogs will continue, they will no longer be regular. Thanks for readings.
-Ben
Keys when assembling vehicles:
- Read the instructions
- Have an open space to work
- Clean each piece before assembly
- Dry fit everything
- Less is more
AT-ST
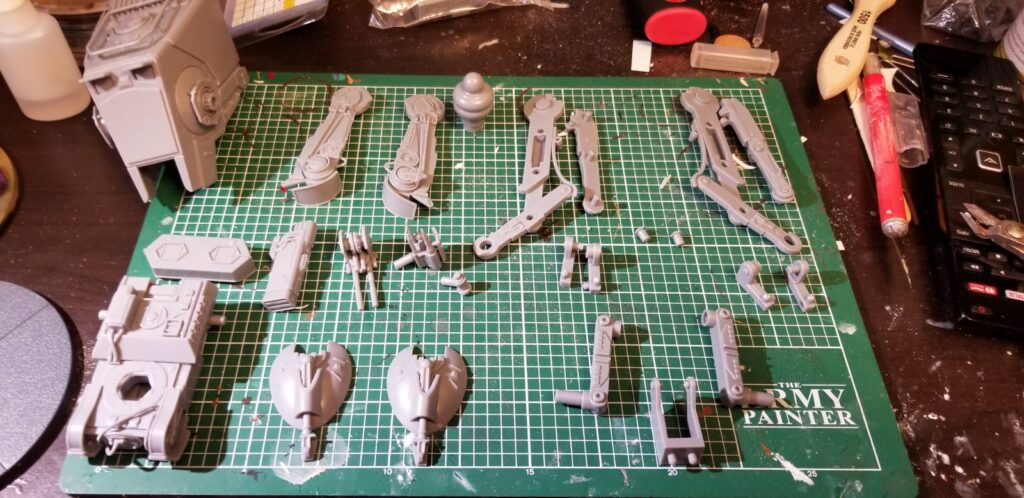
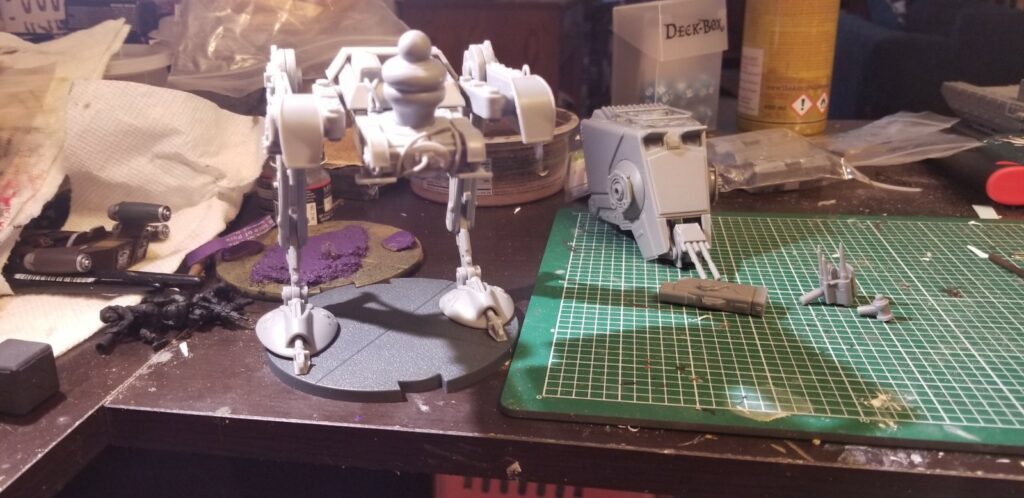
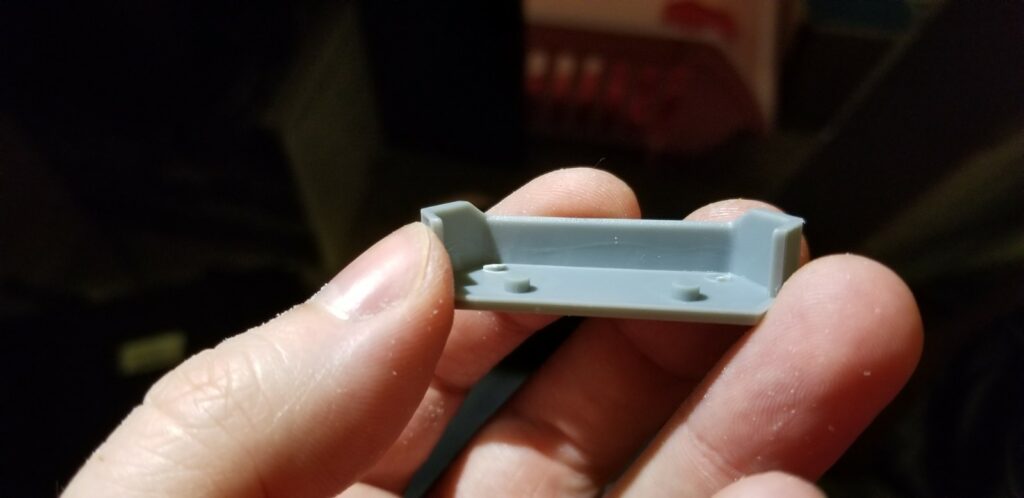
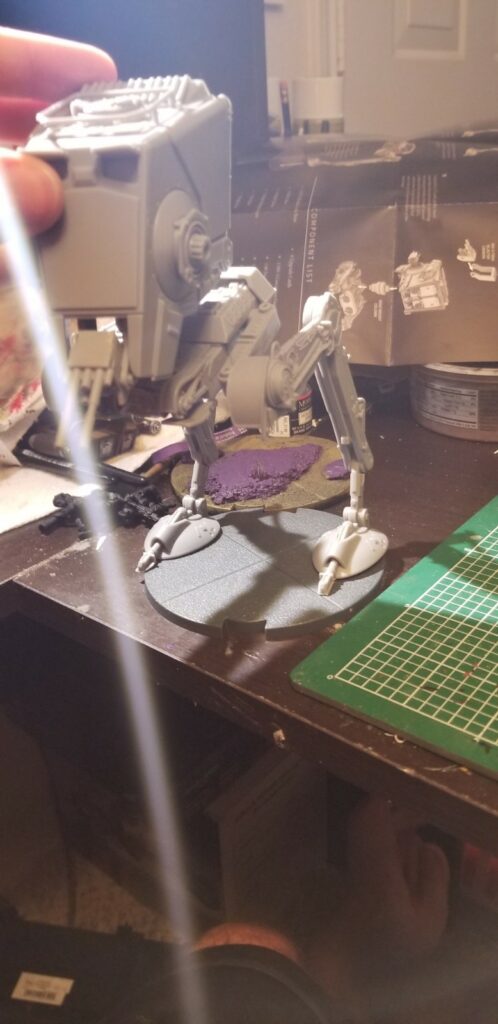
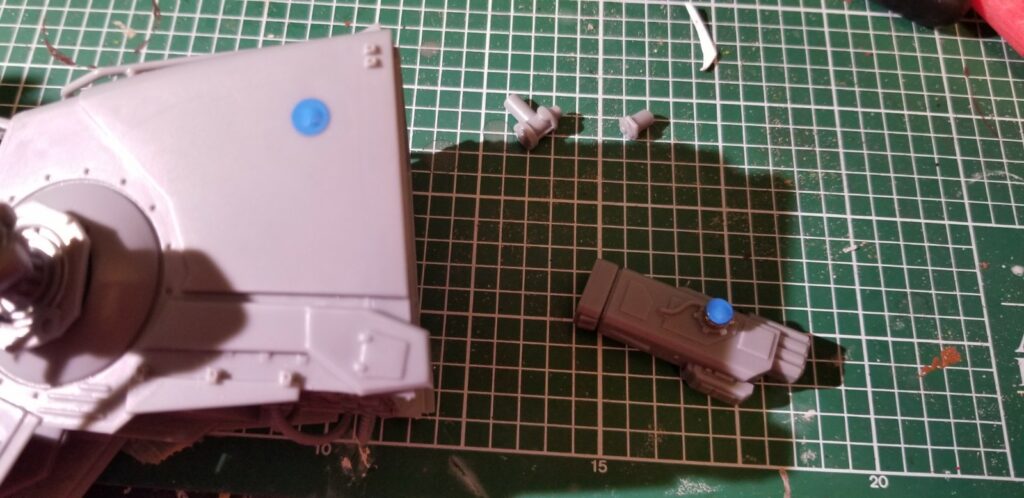
This model was a pleasure to assemble. The pieces were easy to identify and required little cleaning. Only one piece, the back cover for the chassis, needed serious clearing. I dry fitted each leg and entire lower assembly. Once I had a pose I liked I glued each joint in sequence before posing the head and gluing it to the base. I left the weapon plugs in the head unglued, they peg in well enough to not need magnets. I cut the mortar to mount a magnet and marked the cabin. I like to make pilot holes for larger drilling projects, just make sure your hand doesn't slip.
TX-225 Occupier
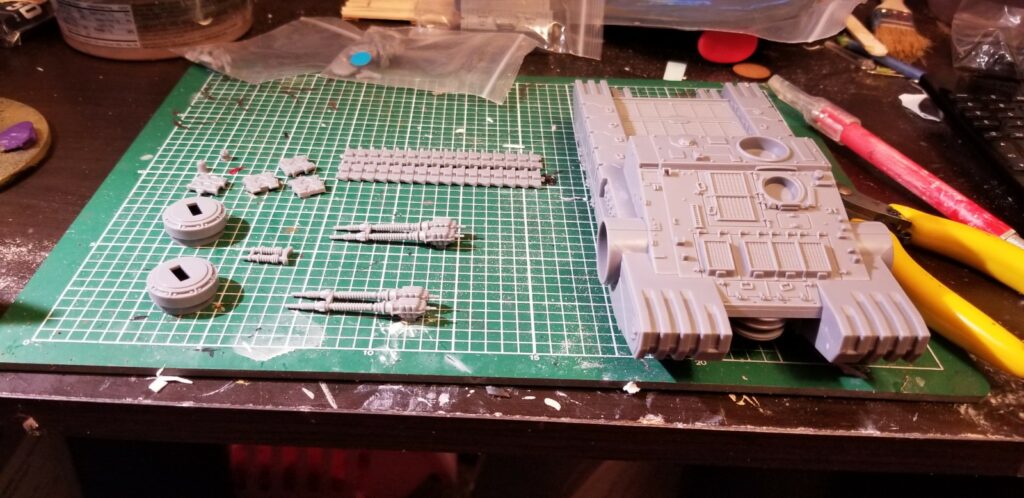
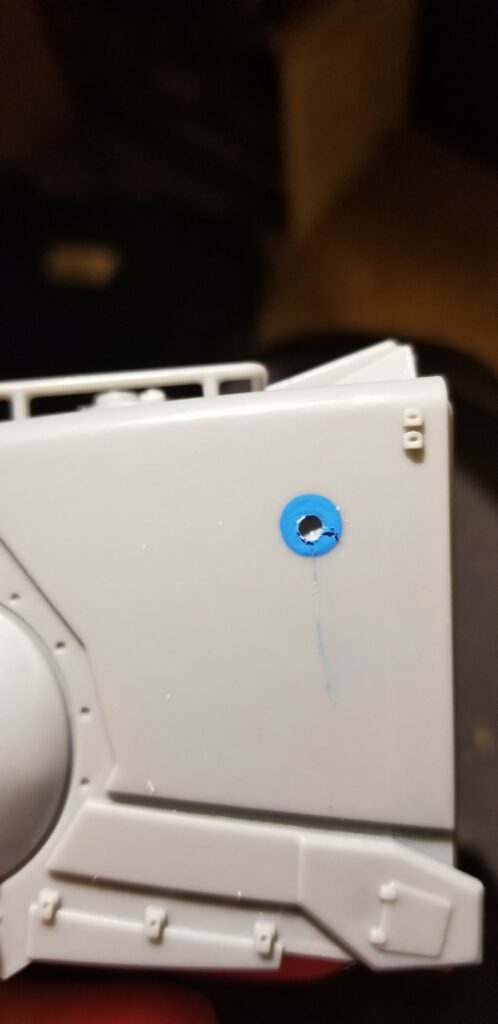
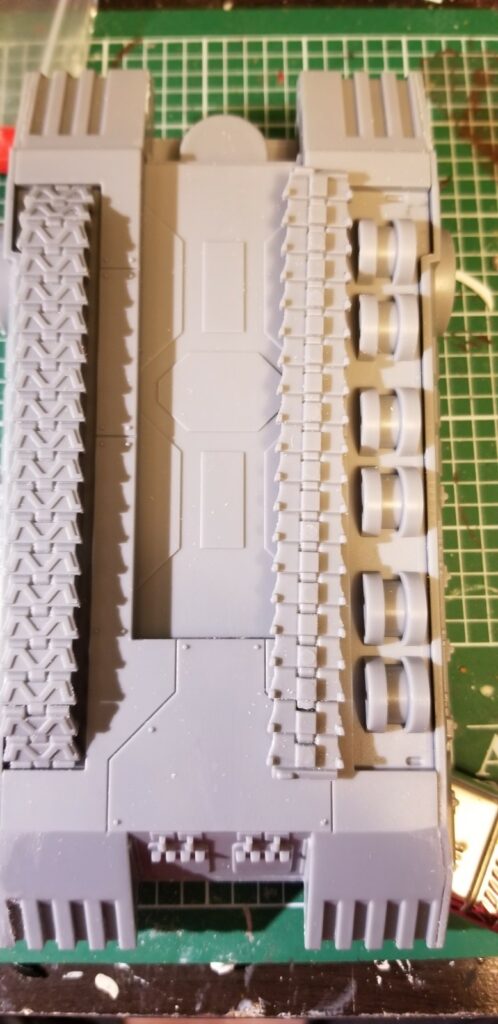
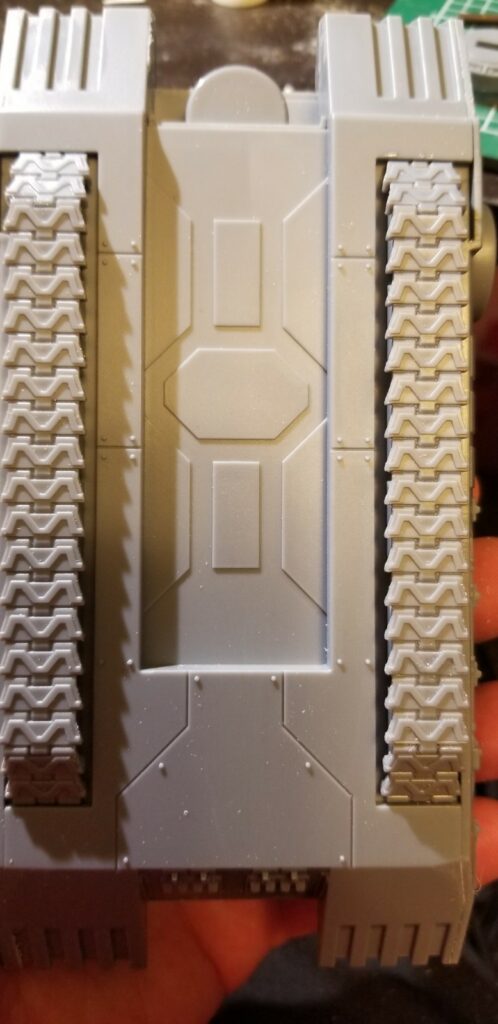
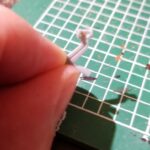
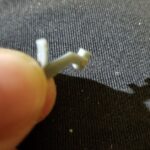
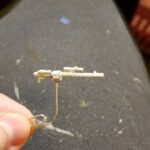
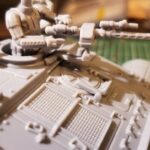
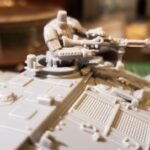
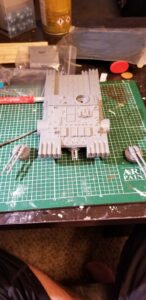
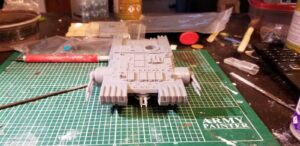
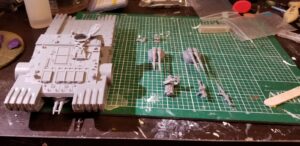
This model was also fun to assemble but it was a little fiddly at points. I didn't glue my tank to the base during assembly because I want to paint it first. I cleaned and glued the tracks first. Make sure the pegs match up and it is a breeze. To magnetize the pintle weapons I drilled a hole for a small magnet in the mounting bracket. The weapon army was too small for a magnet, so I used a small drill bit and inserted a small bore paperclip into the arm. This is magnetic enough to hold the weapon in place. I left the heavy cannons and the gunner unglued for painting.
