Storm Troopers
Ready for the first update? Me too! I decided to kick this off with the ubiquitous Stormtroopers. They are iconic, bringing a look and feel that embodies the Star Wars universe. Plus, you always need core units, and they will be the place to experiment with the palate I will use for my army.
The biggest question is: would I do the Stromtroopers in their traditional white, or would I use a nontraditional color scheme? Over the years, I have had a fair bit of experience painting white. One of the reasons I selected the Rebel Alliance as my first faction was the promise of not having to paint any more white. I had just spent eighteen months painting off-white on several thousand points of Tau (Warhammer 40K) and one of my intermittent projects is a large Napoleonic army of Austrian whitecoats, so the idea of not painting white appealed to me.
In the end, tradition won out. Plus, the upside of painting white until you are sick of it is that you tend to learn some tricks along the way. The trick with white is not so much the white itself, but what goes underneath it. In general, heavy coats of paint do not look good on miniatures and tend to erase details, and this is doubly true when working with white. The remedy to this is not dozens of layers; if you are ever doing more than two or three layers of any one color at a time, you are either wasting your time or an expert who doesn’t need to listen to me. I usually apply all colors in two thin layers.
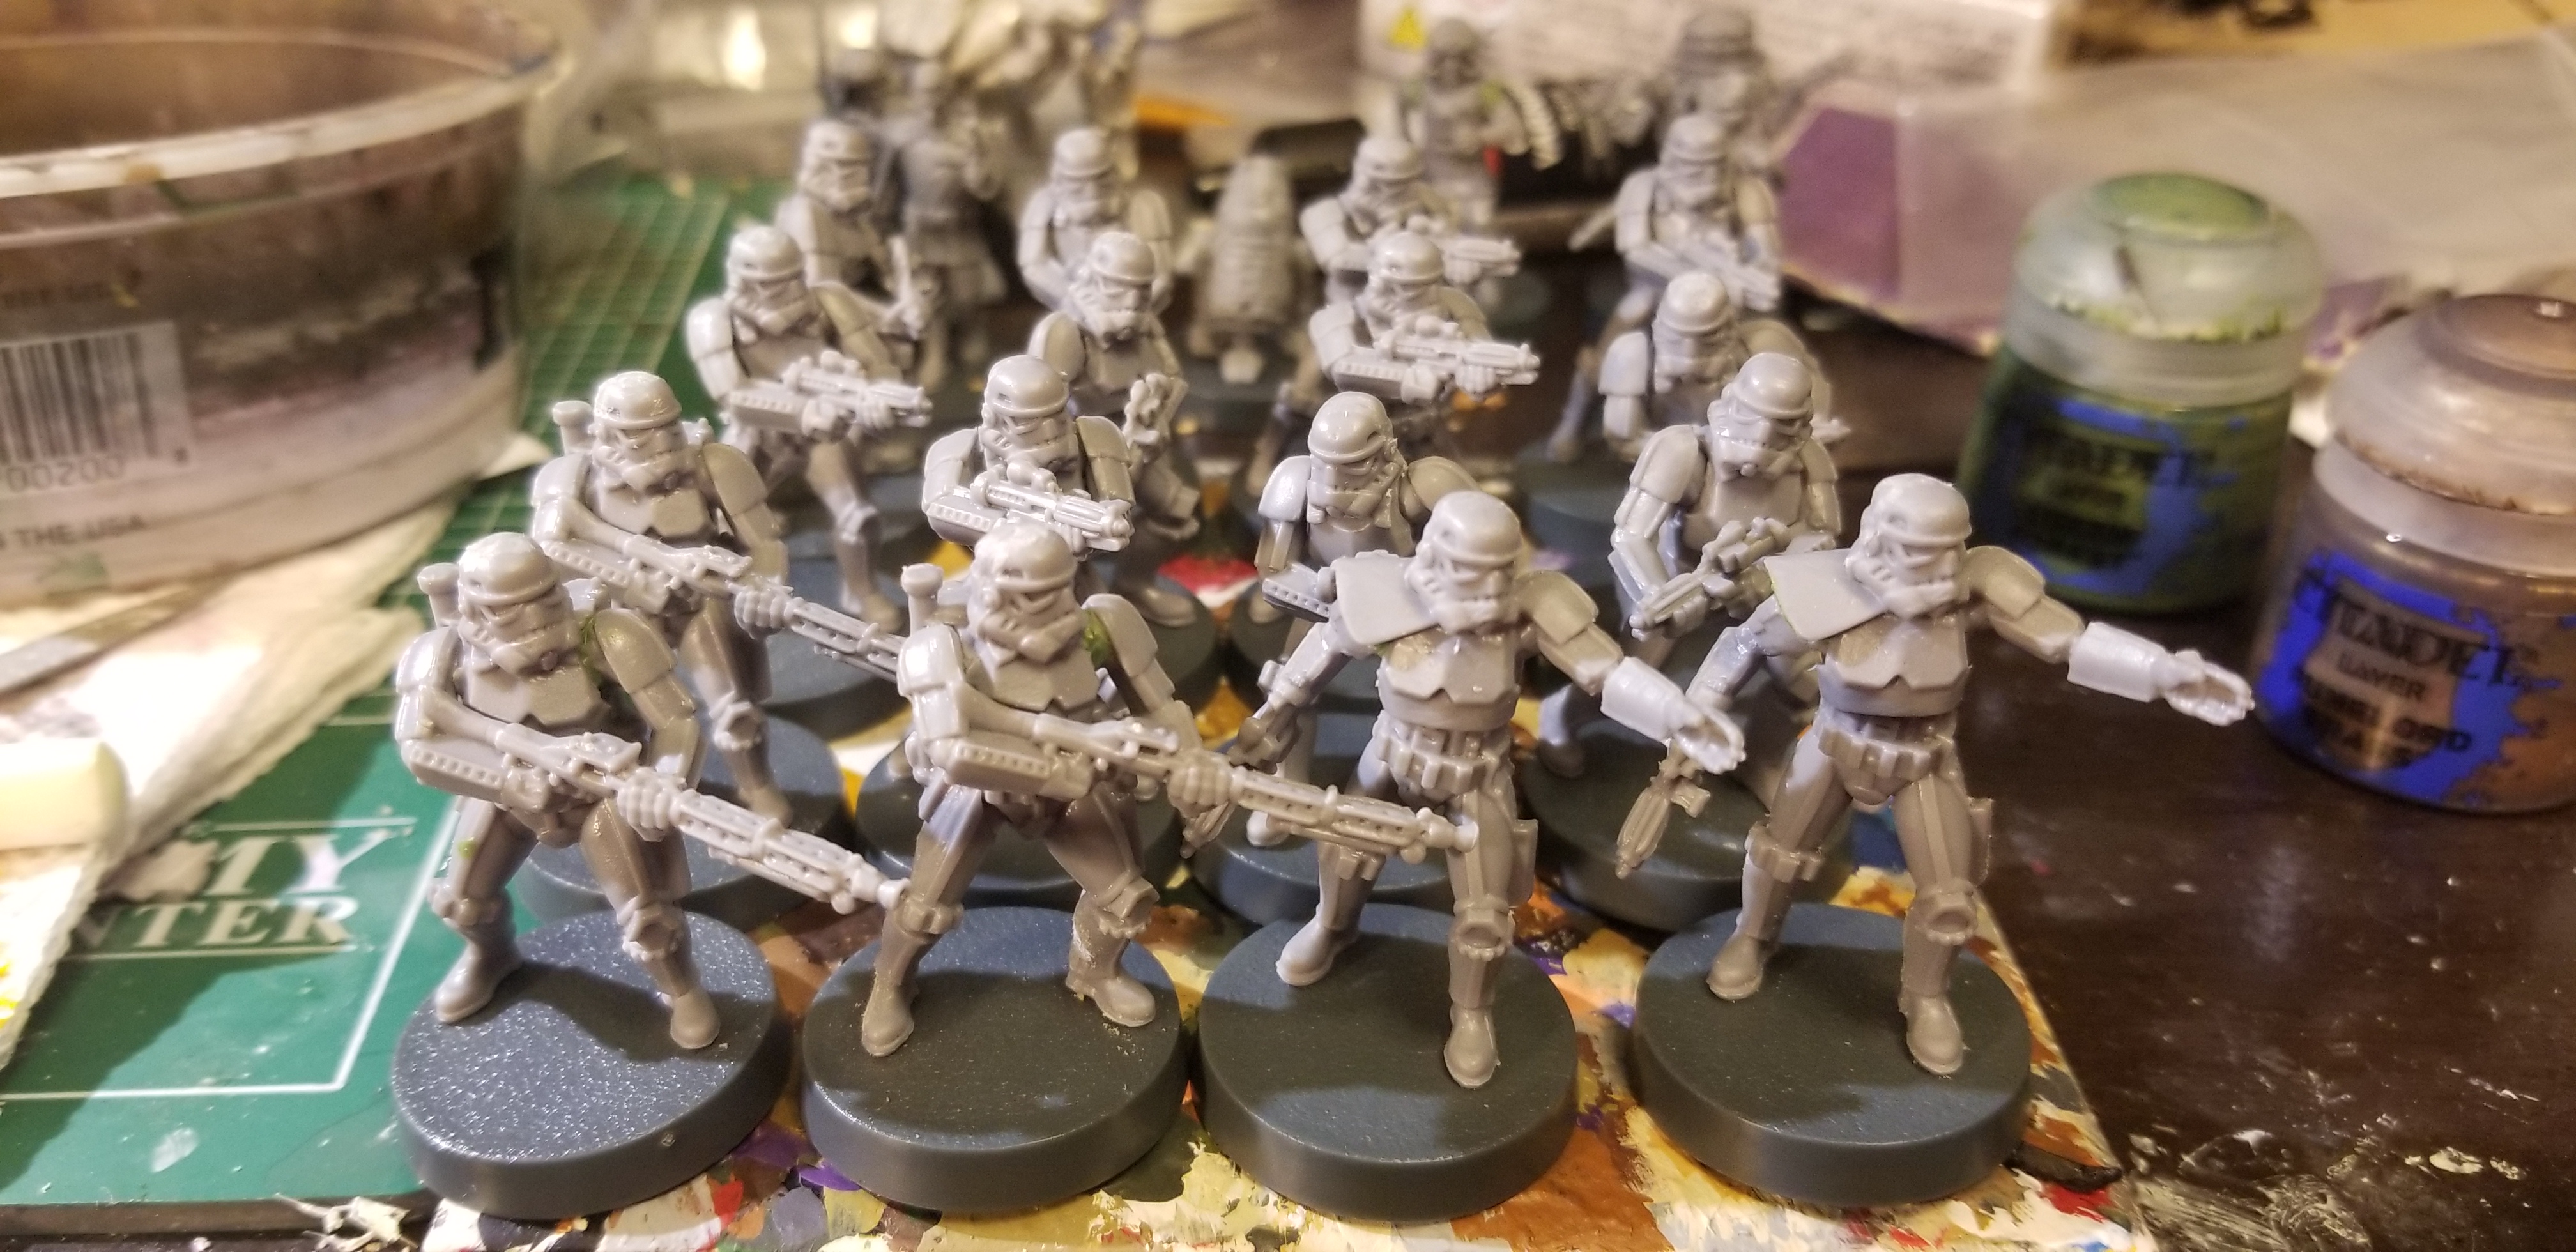
In order for this to work with white, the base color has to be one that will work with white. In the past I have used various colors for my primer, but I almost never use white to prime and never use it out of a spray can. The humidity where I live and the chemistry of white spray primer means that it tends to clump, producing infuriating results that need to be stripped and redone. My preferred color of choice for priming something I am going to paint white is grey. For this project, I used Army Painter’s Uniform Grey primer. I have had positive experiences with Army Painter products and I use their primer and superglue to the exclusion of all others, but other companies produce suitable products as well.
To be clear, I receive no money or compensation from Army Painter or any other company. I am a finicky person with many idiosyncratic methods in how I do things. Readers should form their own opinions and use the products that make sense for them. I will tell you want products I use, but no one should believe that those are the only products which can be used effectively.
Before priming, I clean mold lines and imperfections using a file and a hobby knife. In some cases, I use either green stuff or Milliput to fill gaps, but in general with line infantry I only do this when it is very obvious. I elected not to pre-base the minis. I had decided I was going to use technical paint for bases and therefore no attention was necessary for the base. I also elected not to wash the models. I tend to only wash resin or metal models or plastic models that have recently been stripped. I know individuals who always wash their models and those who never do. The purpose of washing models is to remove release agent from the model so that the paint will not rub or flake off. For the plastic models FFG currently produces, I do not feel this is necessary.
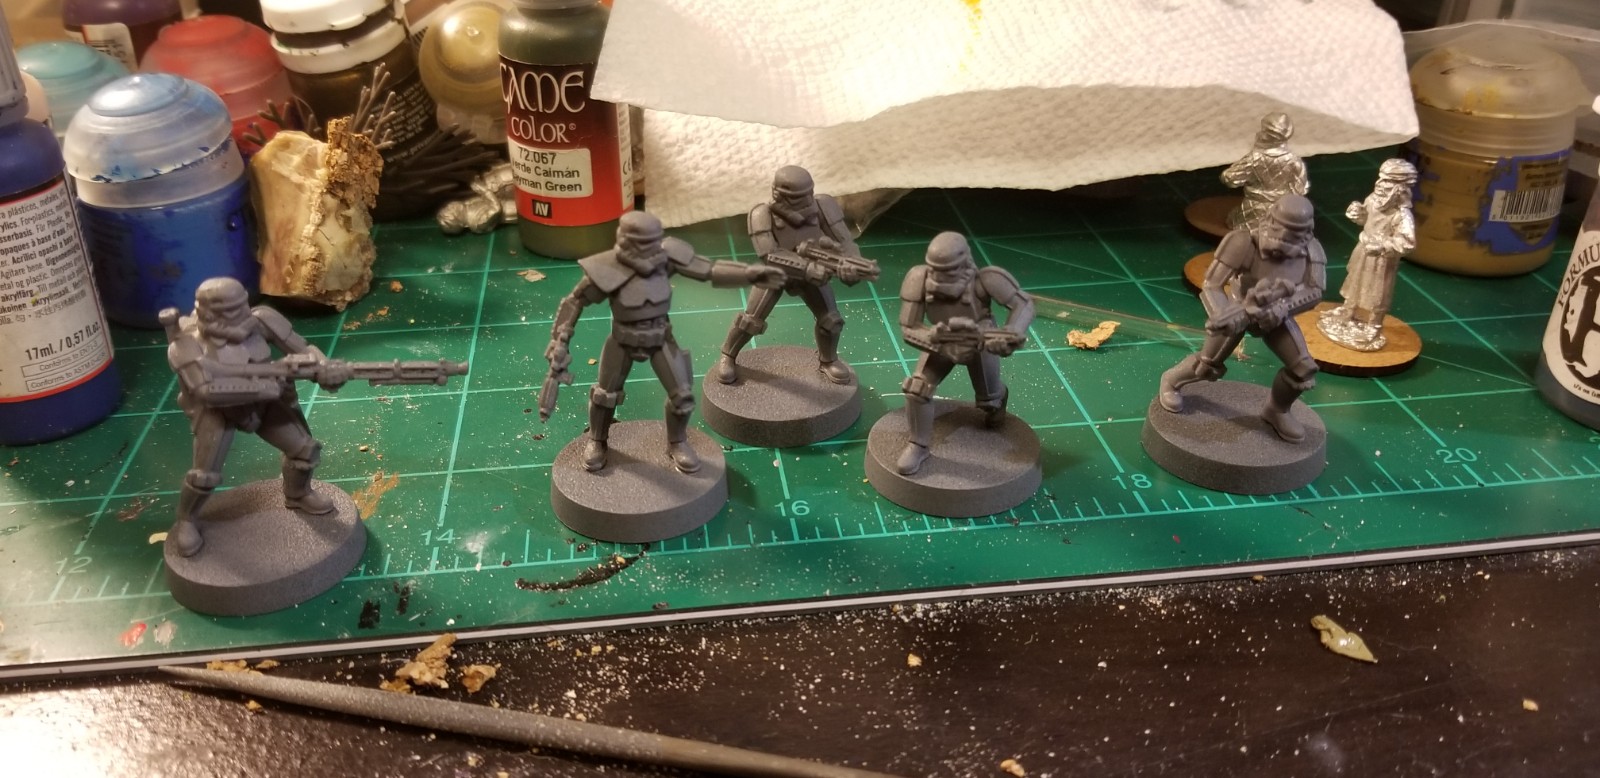
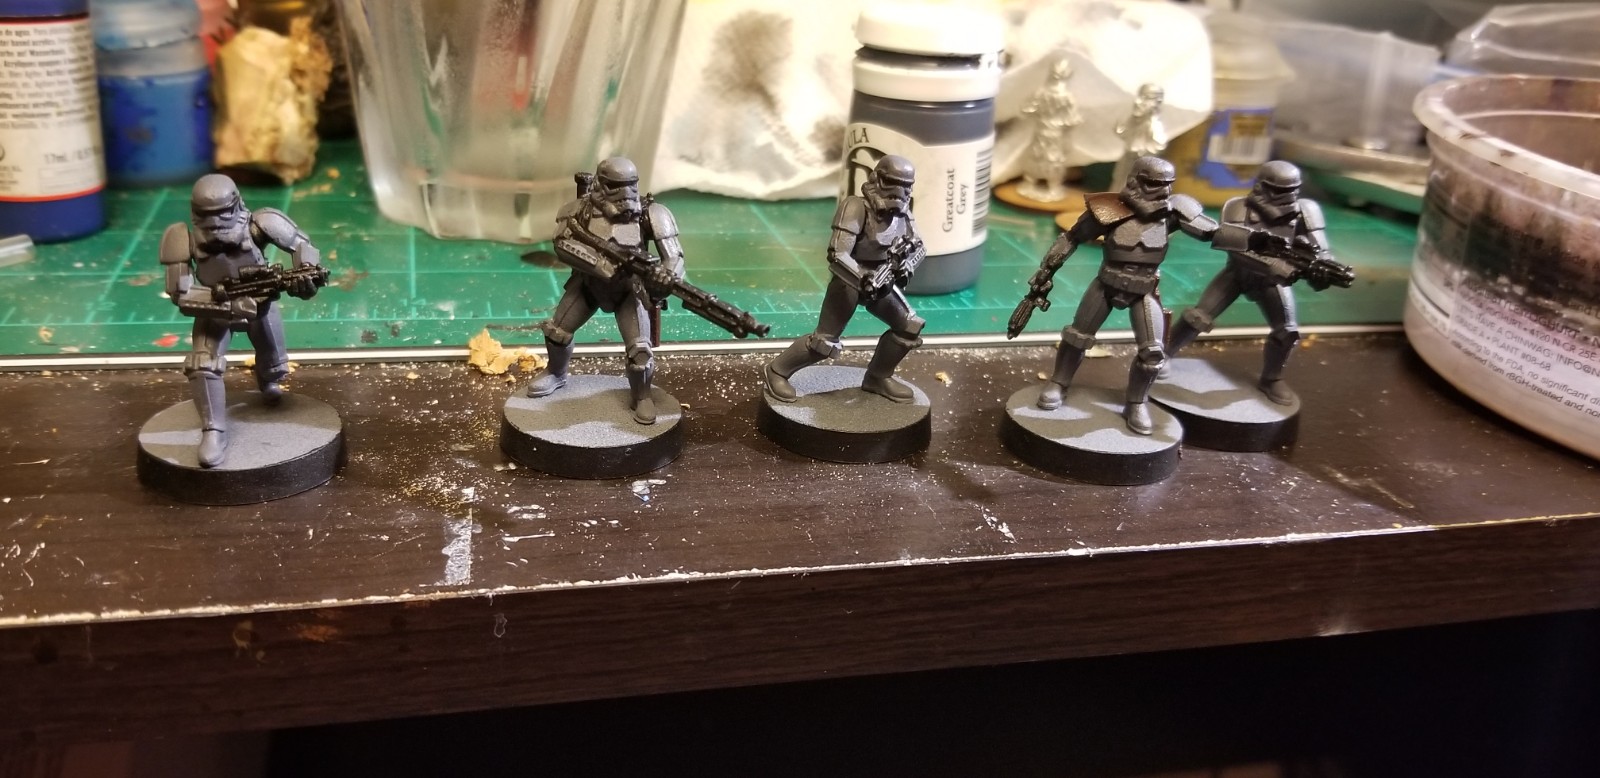
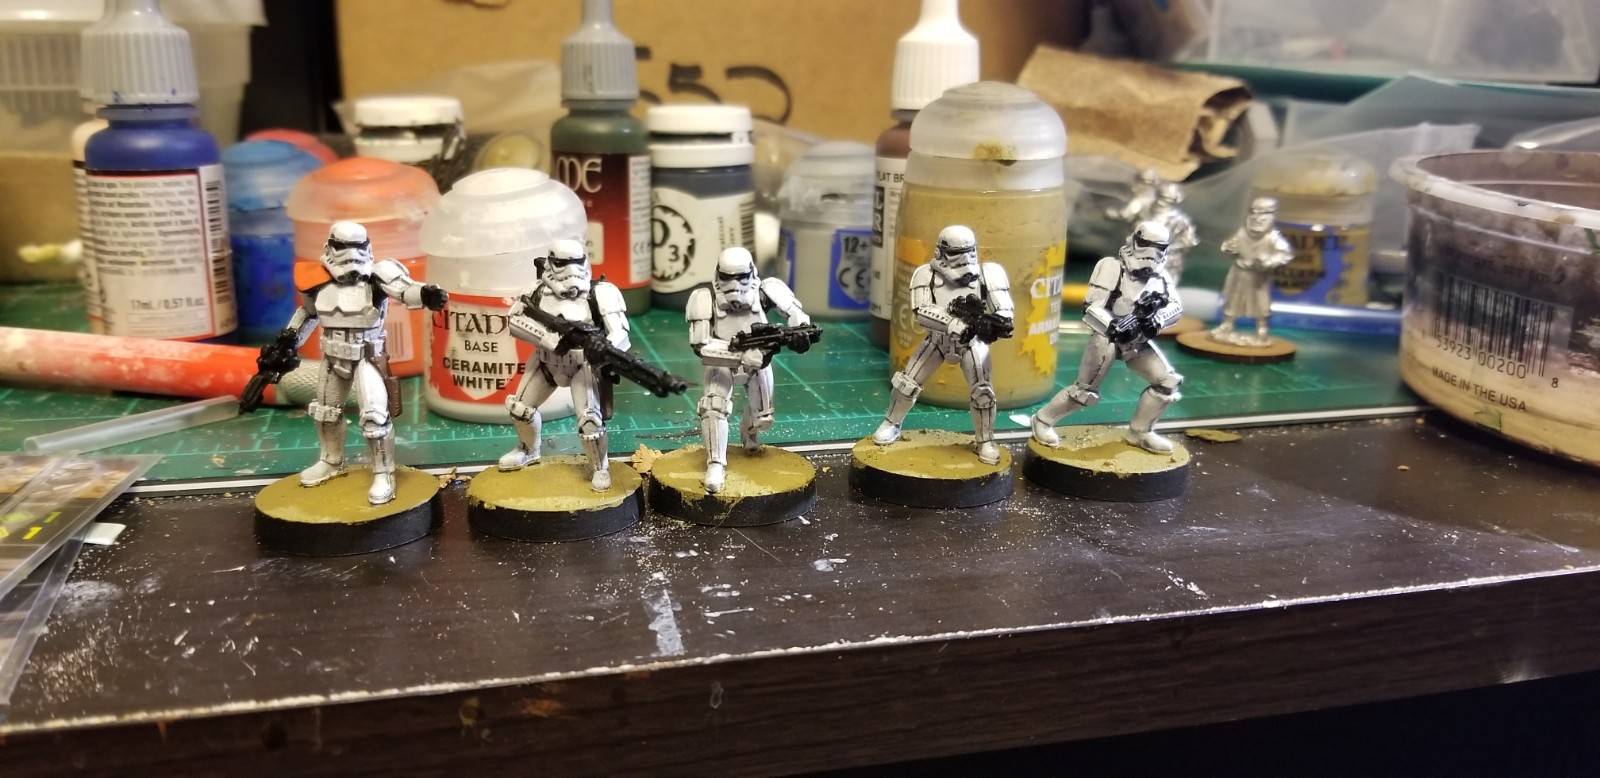
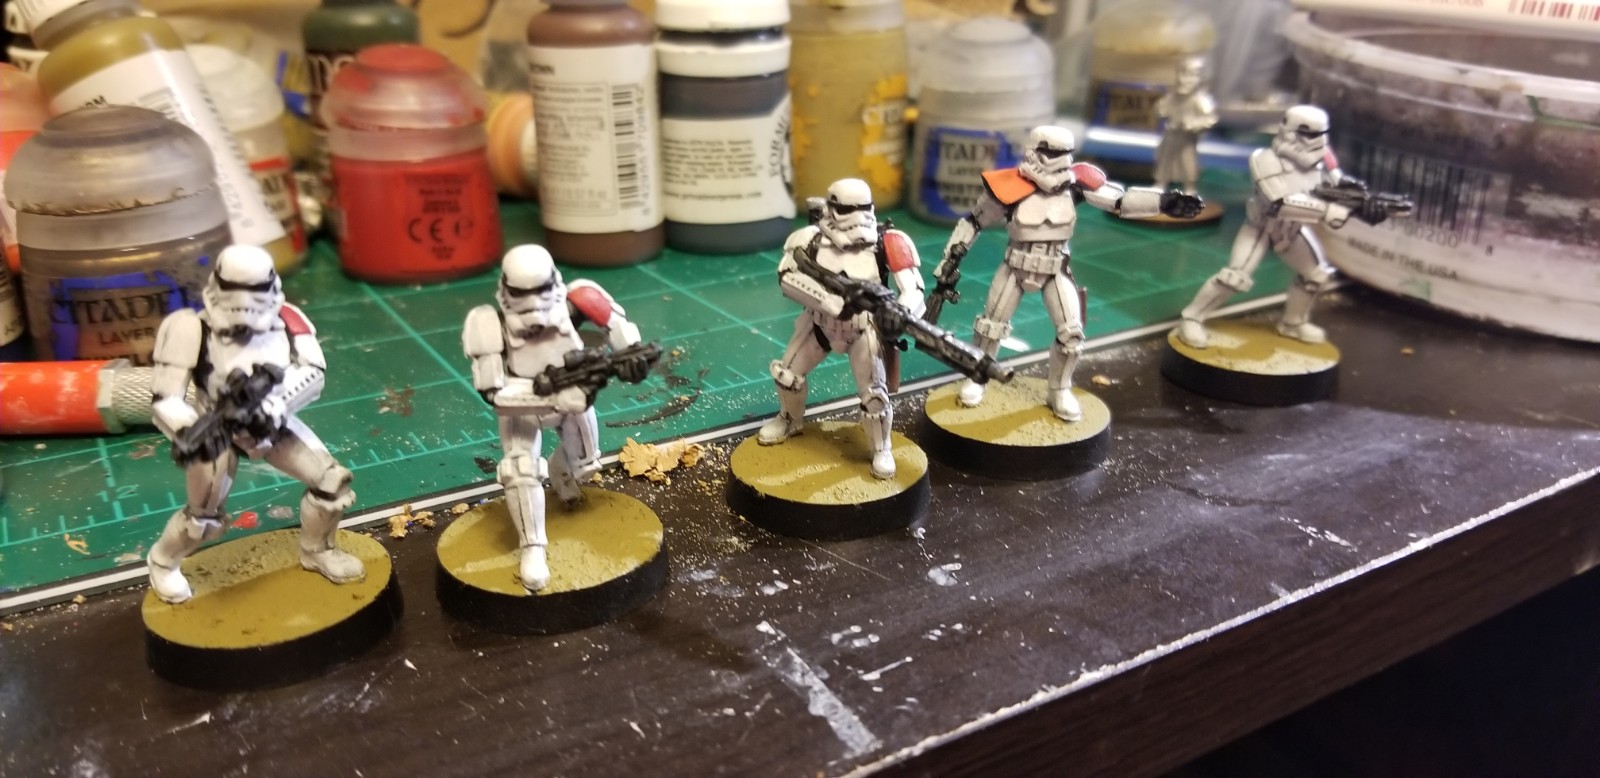
To start painting white, you need to make sure you have a good base coat. In this case, I chose a grey that was slightly darker than my primer color. This was to make it easy to tell where I had gotten good coverage and where I hadn’t. I painted all areas that would be white this color grey, then went back and got all other areas with a base black. Then I went back with my base grey to clean up any areas where I had accidentally painted black or had missed on the first coat. Finally, I put some red down for the base color of the squad leader’s pauldron.
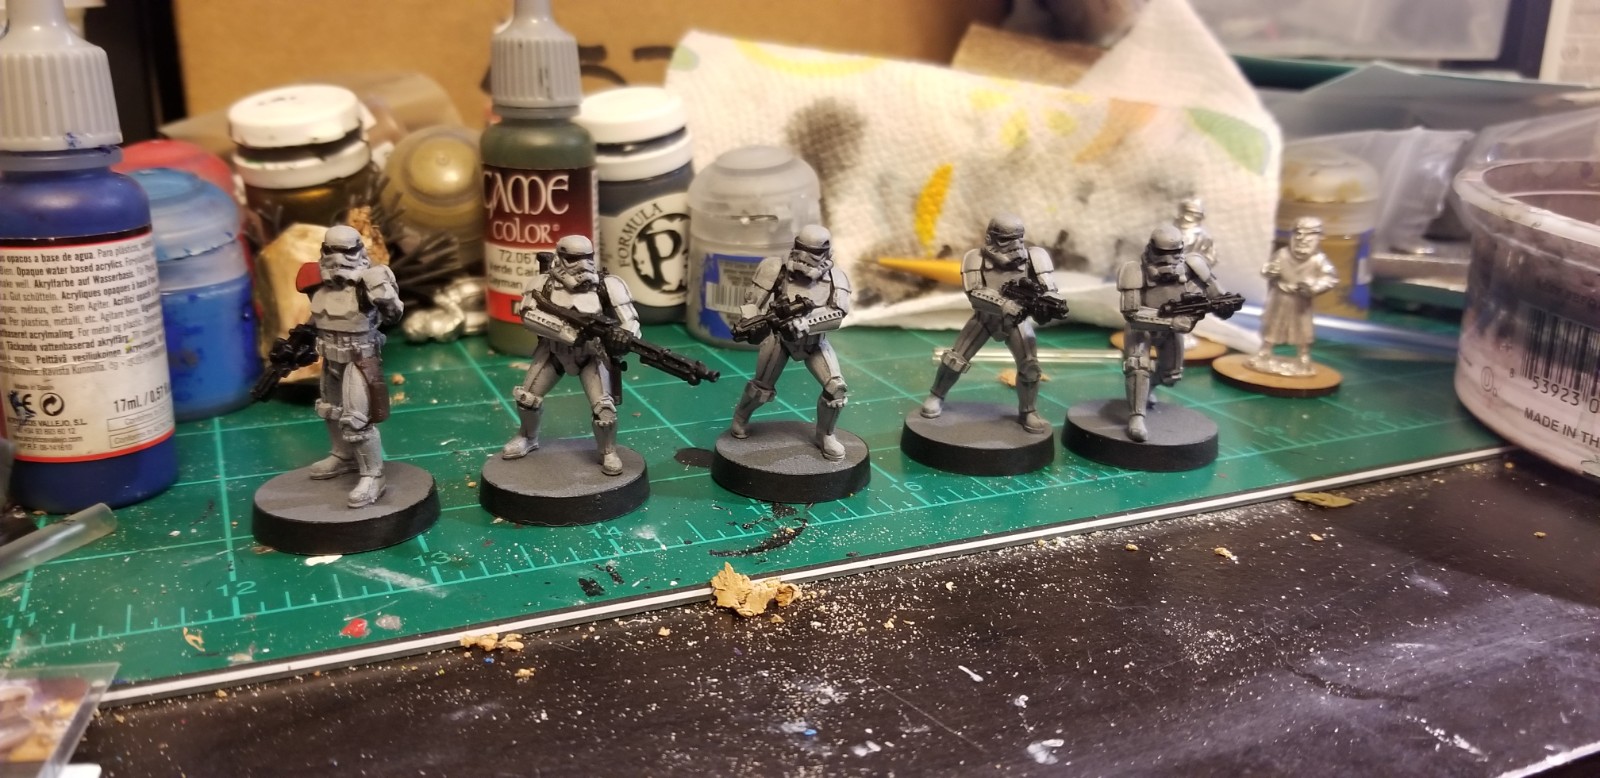
The next step was simply applying a lighter grey to the areas I had painted dark grey previously. I clearly feel the darker intermediate step between primer and light grey is necessary; not all people will share this opinion. My reasoning is that this levels out of the primer, and it makes the final white slightly more rich. I also added another layer of red on the squad leader’s pauldron, and painted the rims of the bases black.
Now for some white! When I am going to be painting white I either change or use a separate water dish, and make sure that my brush is clean. As mentioned before, multiple thin layers of paint is best. My technique is to go down the line of in-progress models, giving each model in the batch one coat and then moving on to the next. I did this twice and then went back a third time to spot check each figure. I also applied the technical paint to the bases at this time. I used Citadel’s Armageddon Sands. It is best applied with a brush you aren’t terribly fond of.
After the technical paint had dried, I went in and added some details to the squad. For ease of game-play, I color my squads. My Rebel Troopers all have color coordinated helmets and T-shirts, but for the professional soldiers of the Empire I decided on simply coloring the pad on their left arms. I also took this time to add some detail to their weapons and the backpack carried by the DLT trooper. I also did any cleaning up of the white on the feet where the technical paint may have been applied too liberally.
The next stage is washing (or inking), so I left my minis to dry for about an hour before moving on to this stage. I used two washes on these Stromtroopers, black and brown. Anywhere that was painted black got washed black (under armor, weapons, etc) with care that recesses of the helmet were also touched. I also washed the abdominal band of the armor to darken it up. The brown wash was used to start bringing in some weathering, and it was applied to the feet, lower legs, and other places that soldiers tend to get dirty (elbows and forearms are get places to start).
Washes themselves need some time to dry, so I gave them about an hour to sit (got distracted watching A New Hope, but I guess that comes with the territory). The next step was some weathering and base work. I used a dull organic yellow to dry brush the base I had painted with technical paint, and the parts of the model I had washed brown very lightly. I then dry-brushed the base with an off-white/bone color.
At this point the squad is almost done. All that is left is cleaning up and adding some detail. The first part was to go in with white to clear up any areas that got ‘washed out’ by accident during the weathering process. Some black, grey, and gunmetal could easily have been used to make the troopers look far more battered. Since the goal was ‘weathered’ and not ‘battered’, I abstained and confined myself to cleaning up the ‘dirt’ I had already applied. I added colors to various details and used metal and grey to highlight weapons, hands, and other details. The squad leader’s pauldron and the unit markets were taken to their final color. The last step was to go in once more with white to give a second coat to my clean up efforts.
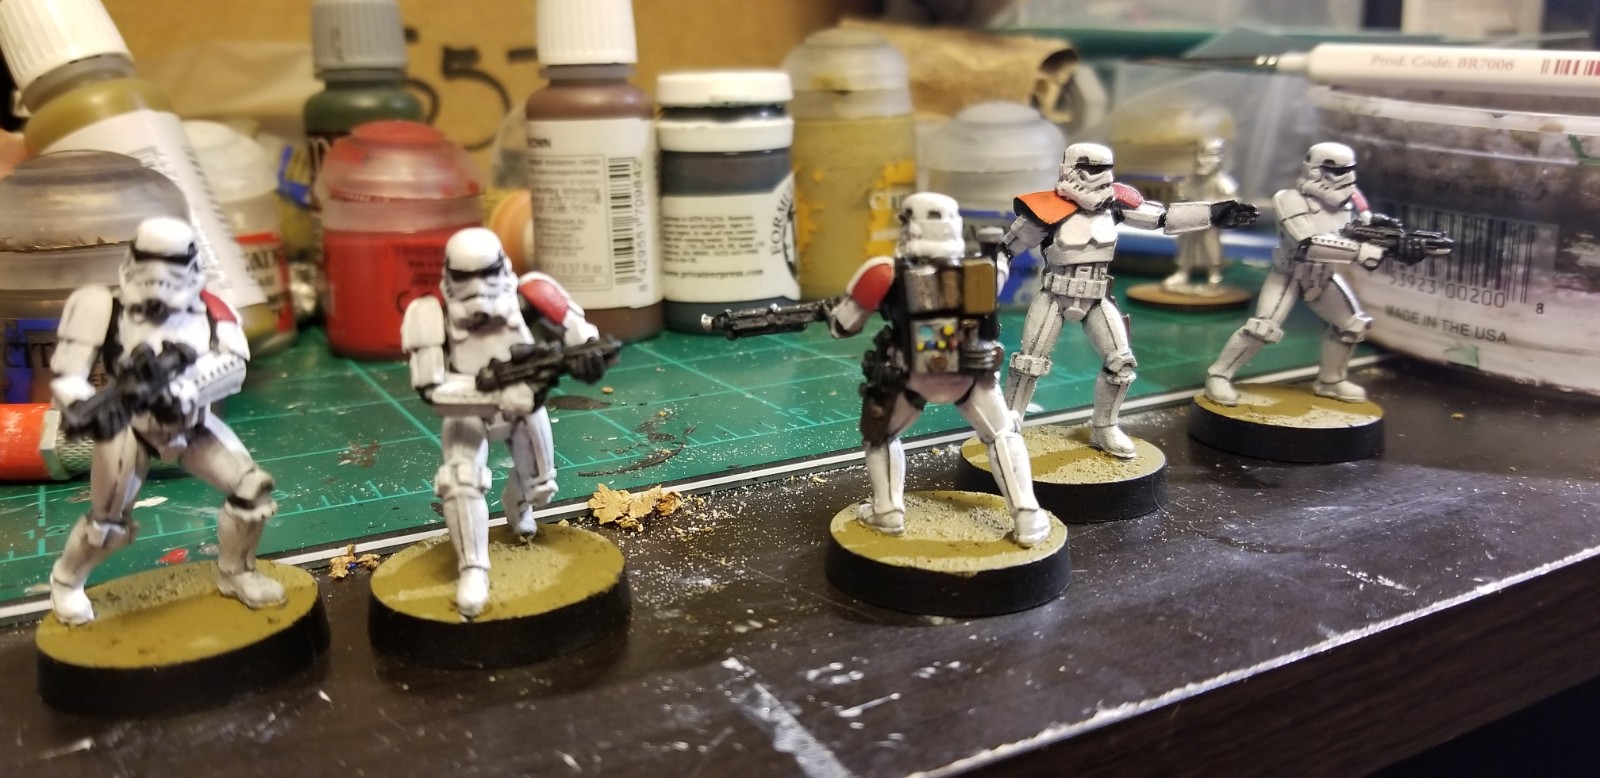
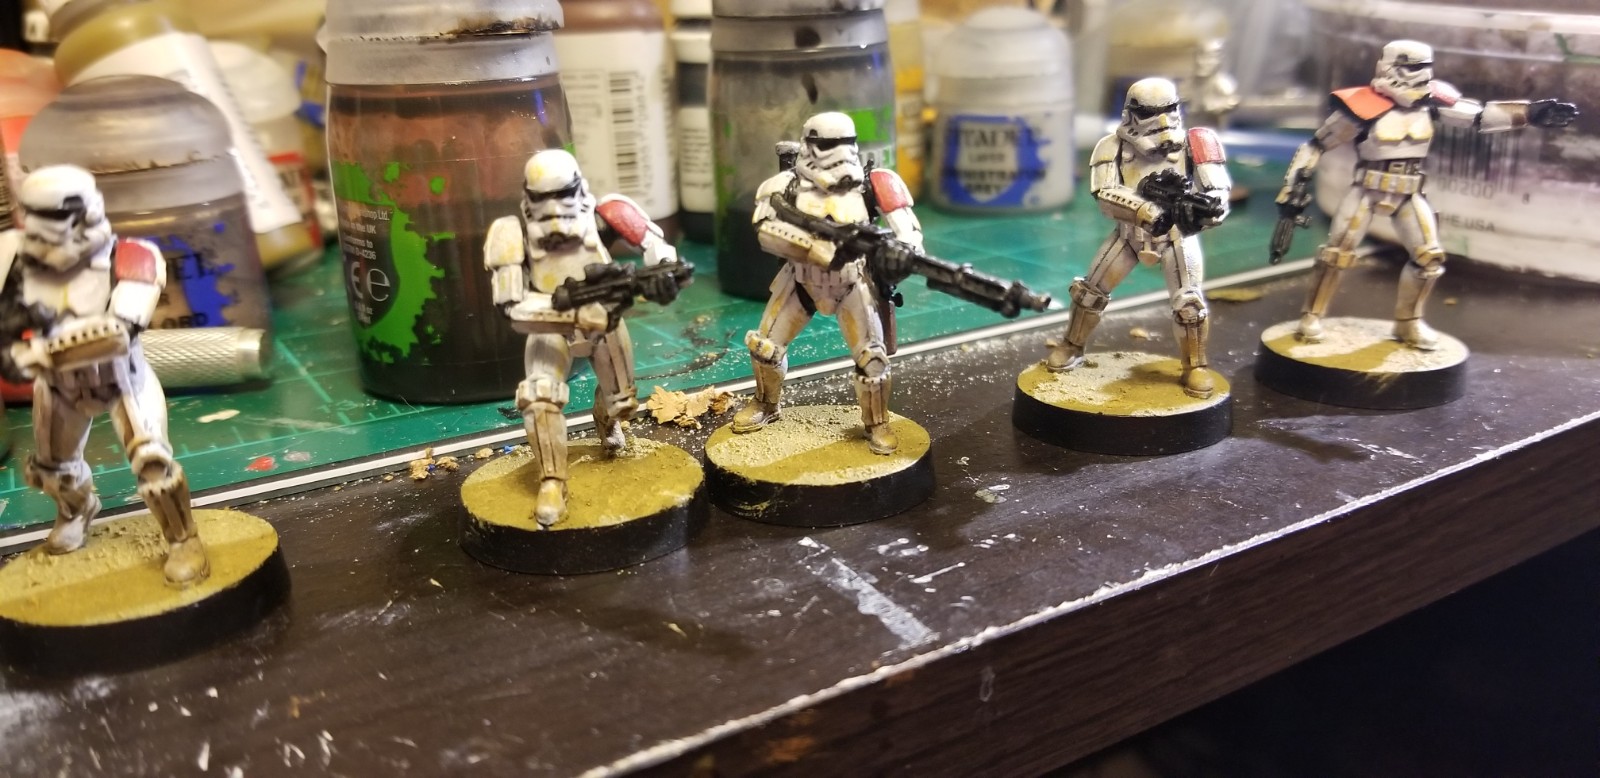
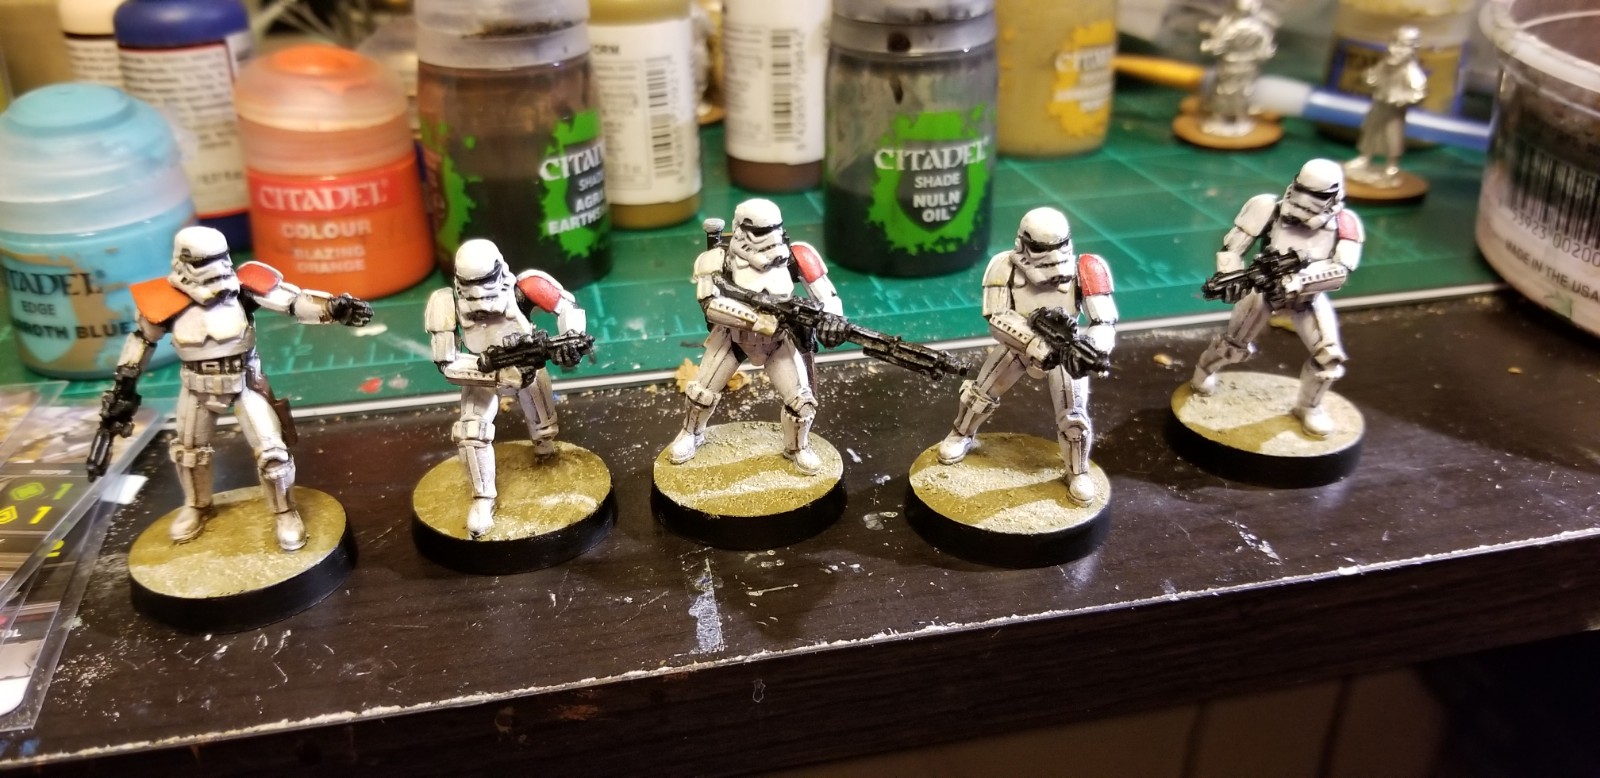
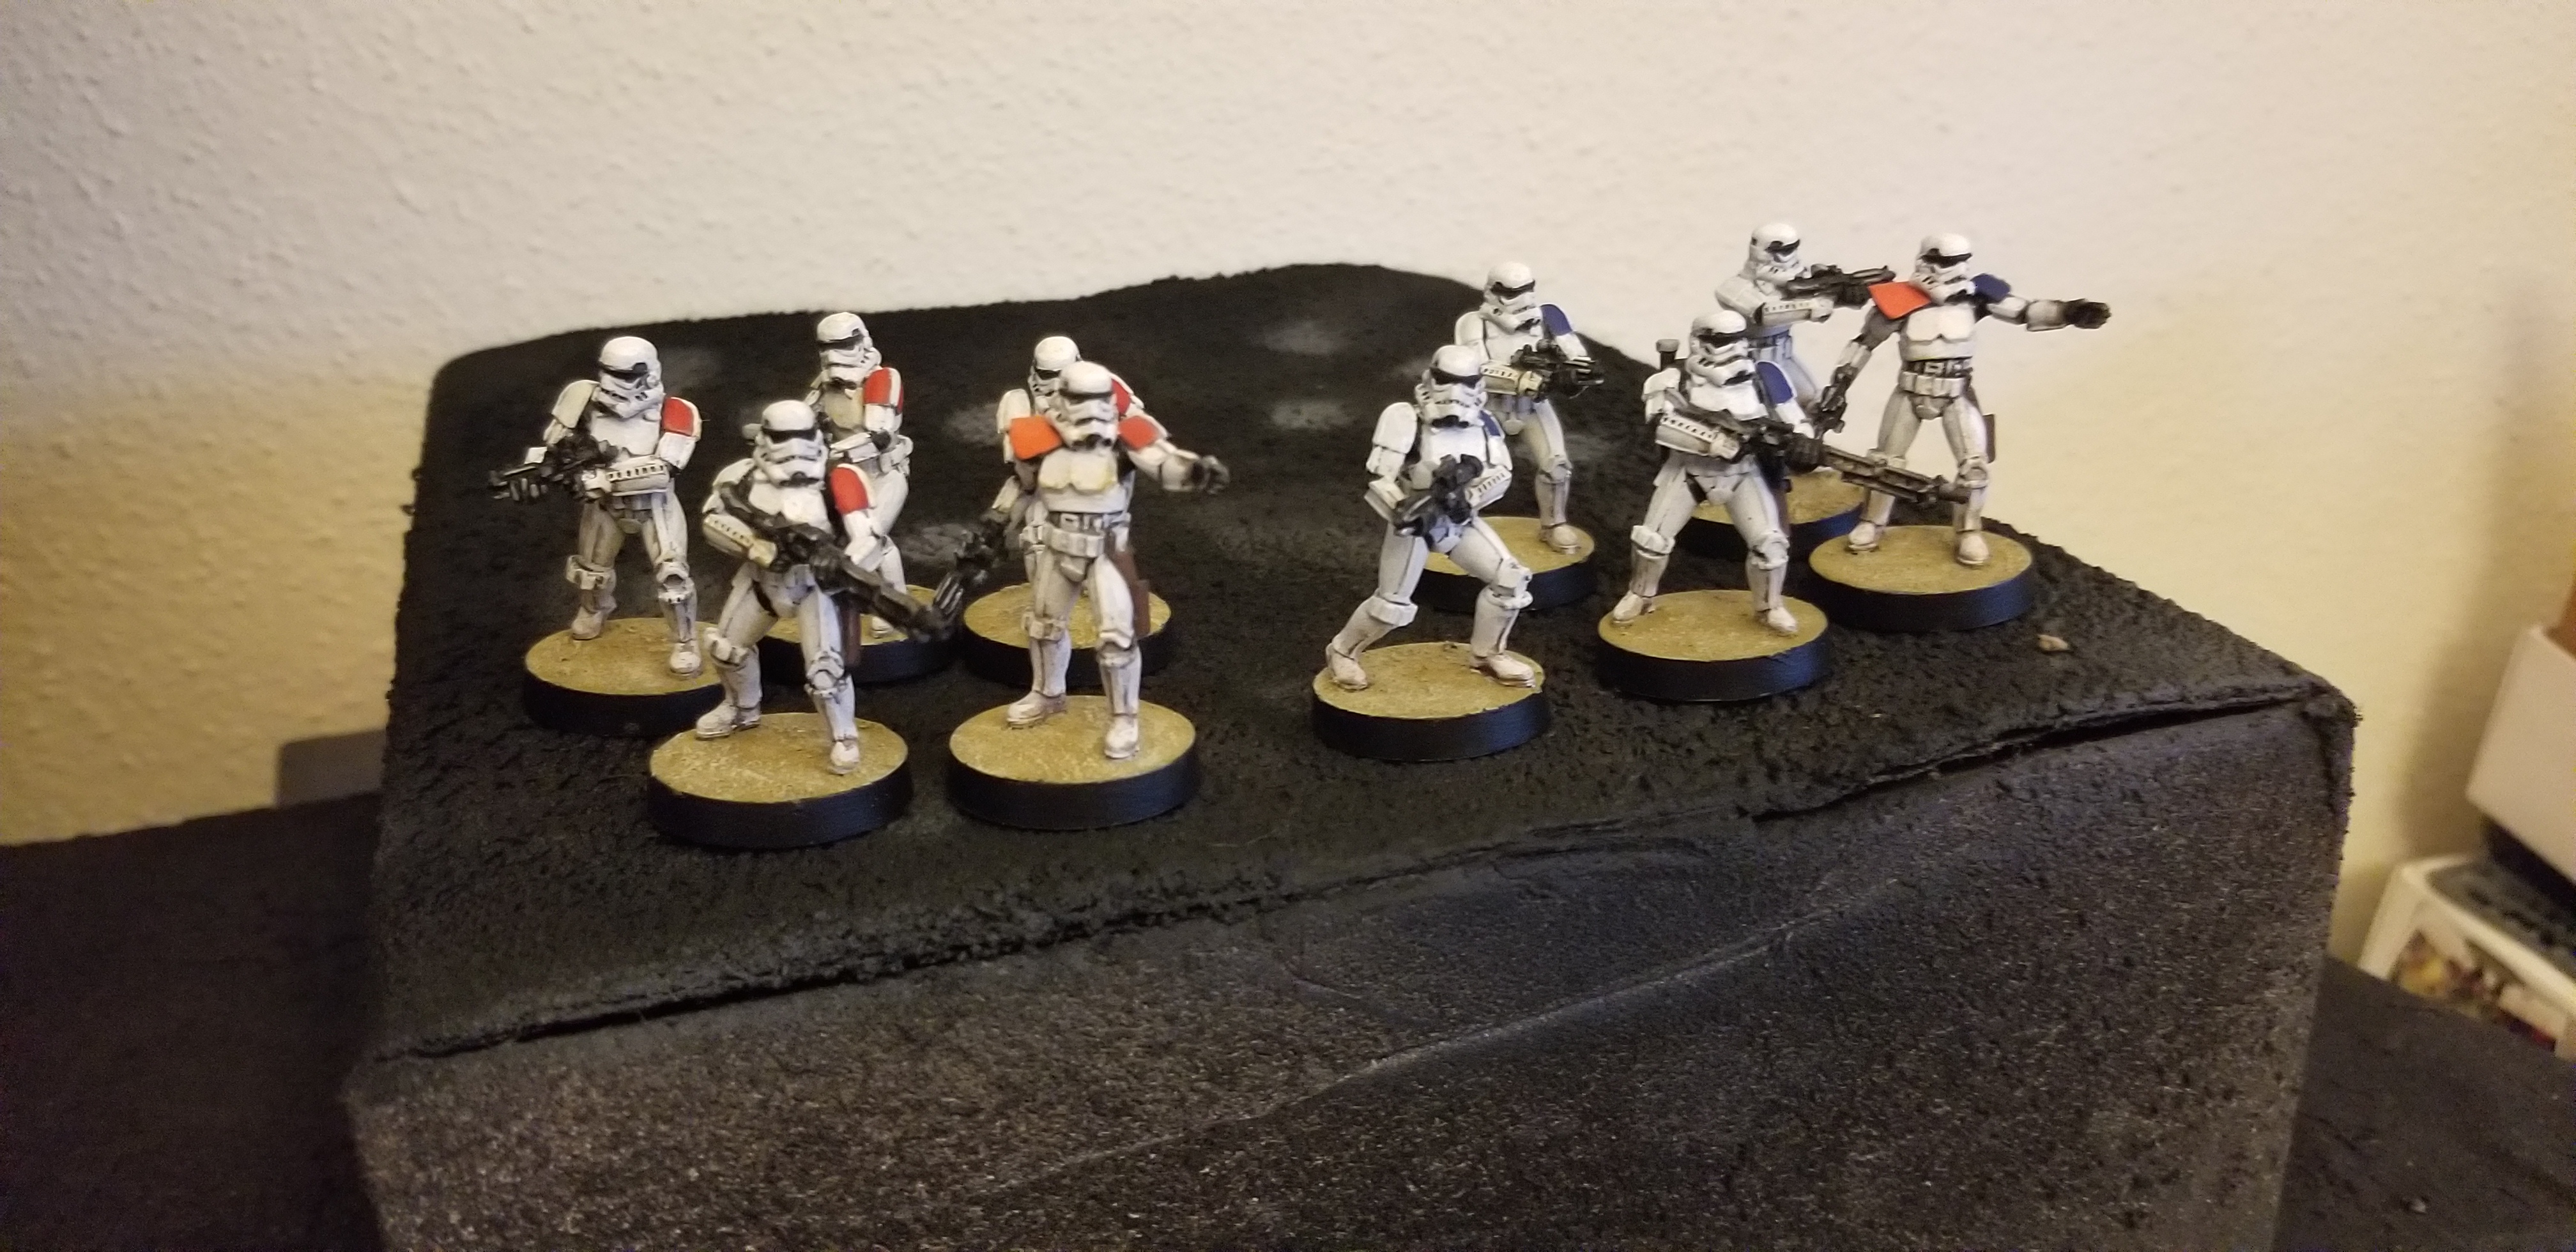
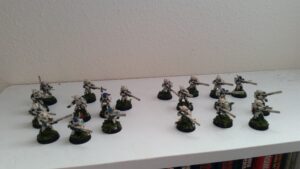
As you can see as of writing I have finished two squads; Red and Blue squads. A third unit is in process, but since I am missing the unit commander, I am having to get creative with them. Expect to see them in another update in the future.
Another step would be adding some material to the bases, but as of writing I haven’t decided what I am going to do in regards to that. Since it can be added at a later date, I left them as is. Once I have completed painting something I intend to play on the table top, I seal them with Testor’s Dullecote. I use the spray variant and generally apply two coats. This prevents accident chipping or the paint rubbing off during play or transportation. It will not protect the model if it is dropped or scrapped, but it is an easy step than can often preclude the need to repaint models due to wear.
I hope that y’all have enjoyed this first entry in this process. Be sure to check in next week when I turn my hand to some of the heroes (villains) of the Empire.
-Ben
