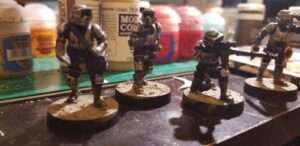
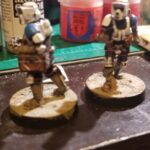
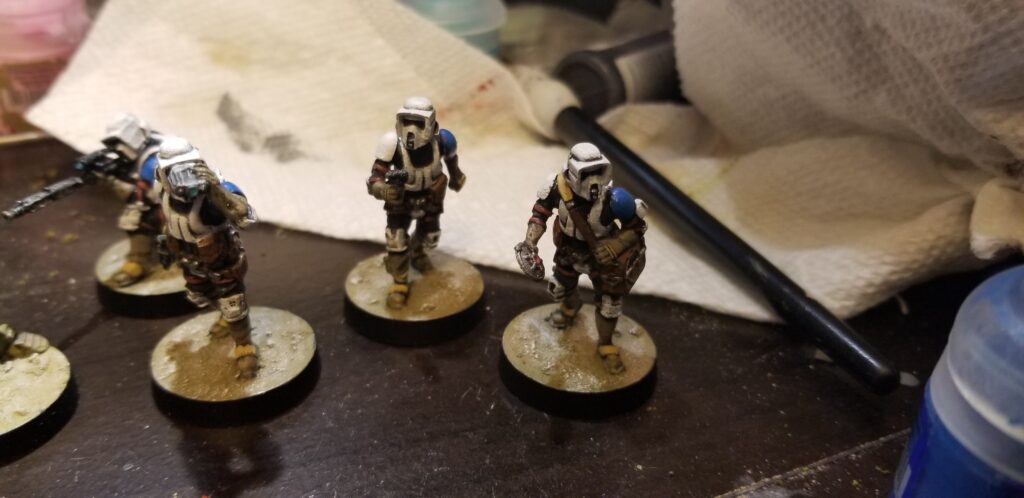
Scout Troopers
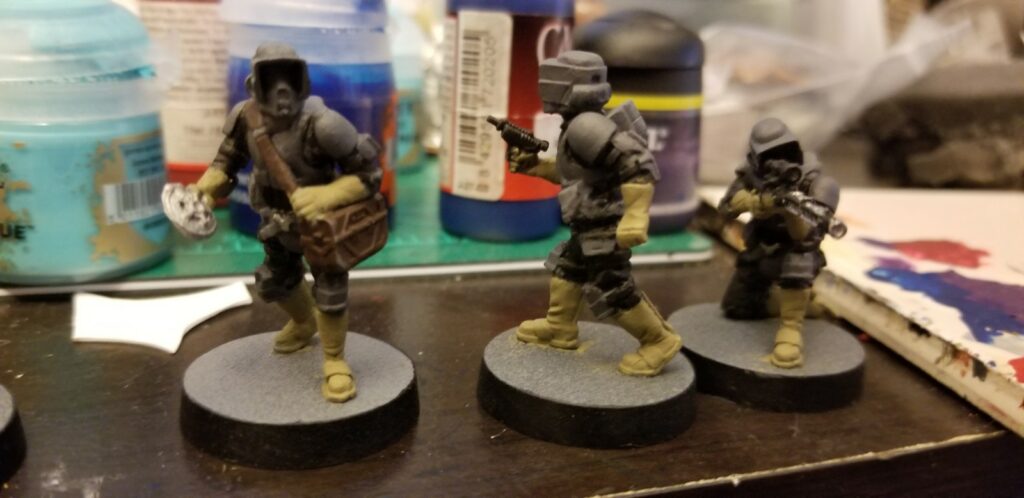
Alright still late this week, but not posting on Friday late, so some improvement. This week I will talk about painting my Scout Troopers. I know various people have rules issues both with these scouts and their Rebel Commando counterparts, but I don’t mind them. The Scout Troopers were a pleasure to assemble and paint. I used no filler on these models, though there were some areas were I could have. A trick with assembling the saboteurs is to put a little dab of glue on their chest strap before pushing into the model to ensure it lays flat when the model is assembled.
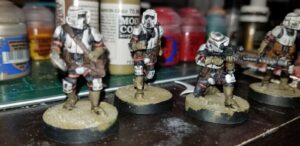
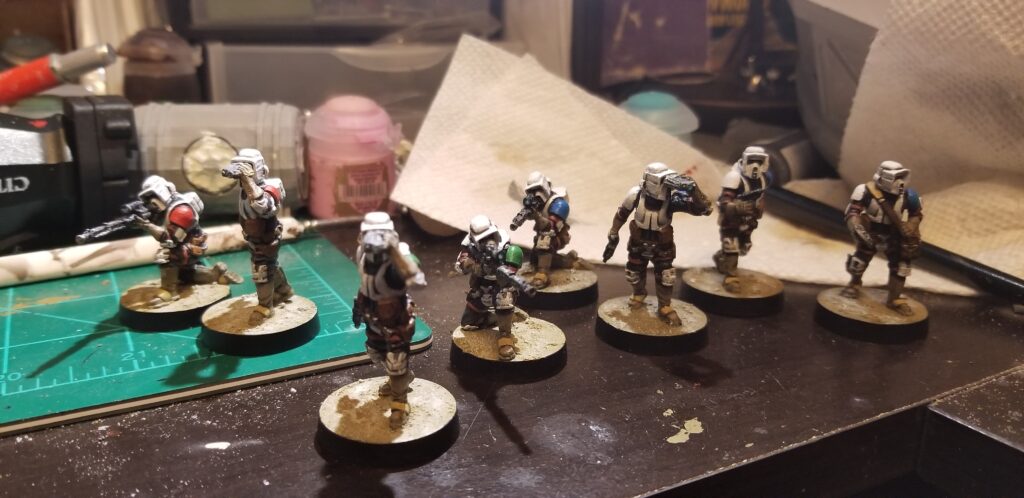
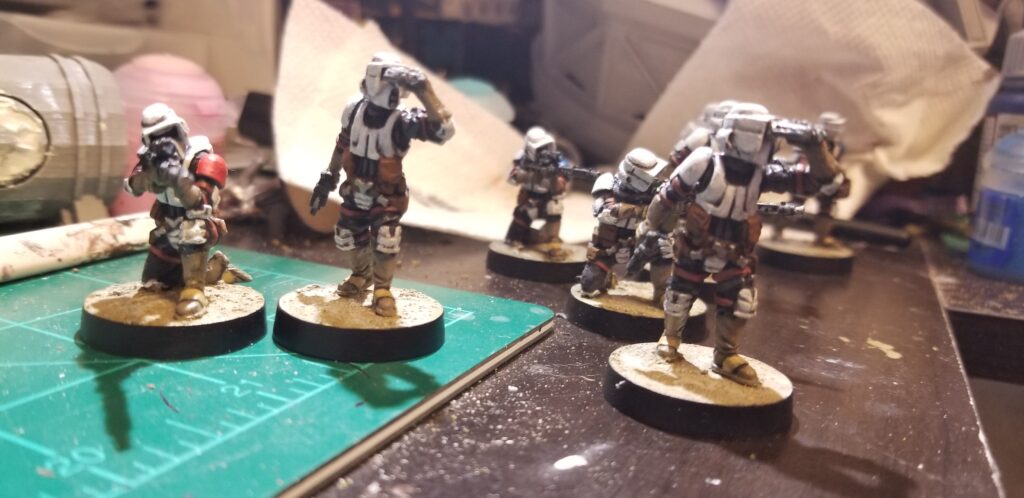
Once more I stayed near the canonical costume design, but I did go with different color boots and gloves so they didn’t look so white. Also for playability I painted their left pauldrons with a unit color (green, red, or blue). Making unit differentiation easy is critical if you are going to play this game, competitively or otherwise. Nothing slows down a game like trying to figure out which mini belongs to which squad, and it is an issue that no T.O. can resolve in a satisfactory way. So I try to make all my units as clearly differentiated as possible.
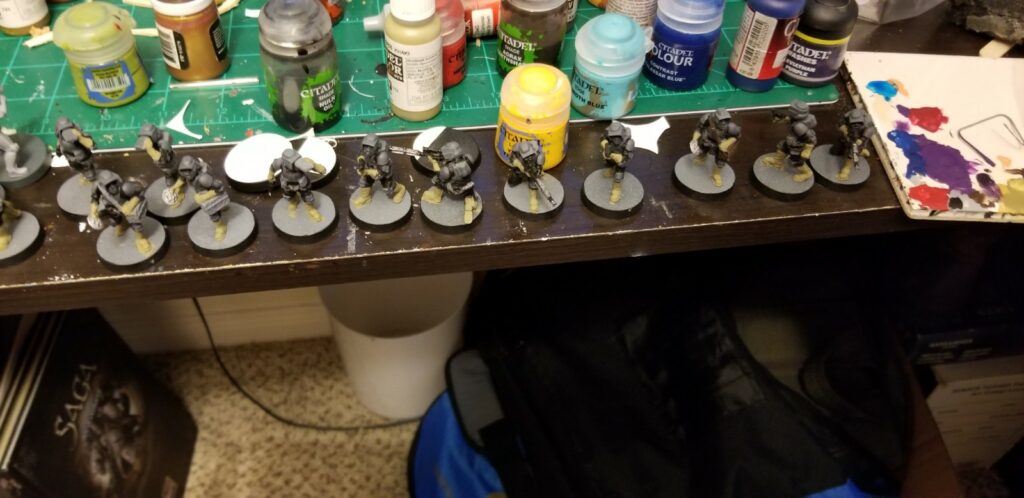
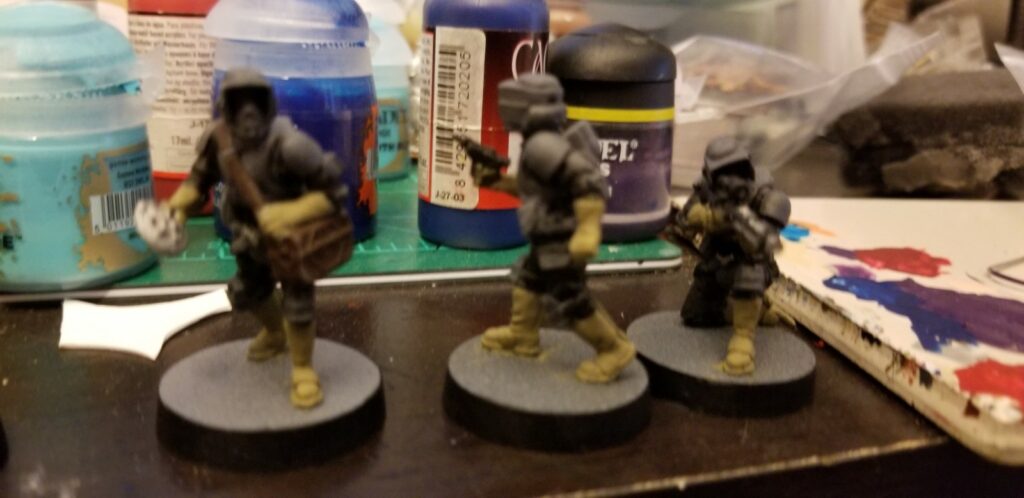
The Scout Troopers were primed grey and their armor was painted dark grey, while their undershirts were painted black. Parts of this are going to look very similar to the process for Storm Troopers. After their armor and bodysuits, I painted their gloves and boots yellow brown (Tallaan Sands by GW). These will eventually be layered up to brown, but I used this yellow to set up weathering for later. Their pouches and belts were painted dark brown, as were their various armor straps, then I painted their armor light grey and applied technical paint to their bases.
The first coat of white went on next, then I highlighted the armor straps with a red brown, and the pouches with a more traditional brown. Then the entire models was washed black. When that has dried, the second coat of white went on. It is important that this layer be thin, and you leave grey and black in the recesses. If you feel the layer is too thin, don’t add more paint! Let it dry and add another layer. I then highlighted the bases, painted the visors, touched up the body suits, and painted metallics on buckles and weapons.
The gloves got highlighted light brown and then got some off yellow highlights. I also used this off yellow (Amarillo Sands by Vallejo) for the saboteur’s shoulder strap for as well. On the back of the belts, I added some color, painted their unit markings, and highlighted the weapons. A couple of models got a last few touch ups of white, and then they were done.
I will confess that at the time of writing I have only eight of the fourteen Scout Troopers I assembled painted. The six remaining are about half done, having yet to receive any white paint on their armor. They will be finished later this week (probably). As we get into August this blog is going to slow down as my time gets eaten up by work. But at this point I have made it though most of the units I have bought. I have two more units of Storm Troopers and one of Death Troopers to finish up, but I think next week will be a look at how I assemble and magnetize both the AT-ST and the TX-225 Tank. Until then, thanks for reading.
On Paint Brushes:
I use three main brushes when I am painting, all made by Army Painter. They are, in order of increasing size:
Army Painter: Detail
Army Painter: Character
Army Painter: Regiment
I also used some watercolor, or cheap brushes for this like applying technical paint, which can damage the shape of your brush. I use brushes for between six months to a year, depending on the use they get. I use Army Painter because their triangular handle is comfortable to use and their quality is acceptable for their price. There are plenty of acceptable brush manufactures out there; you should use the one that fits your needs and budget.
-Ben
